OneText Flow Editor
Last updated: June 23, 2025
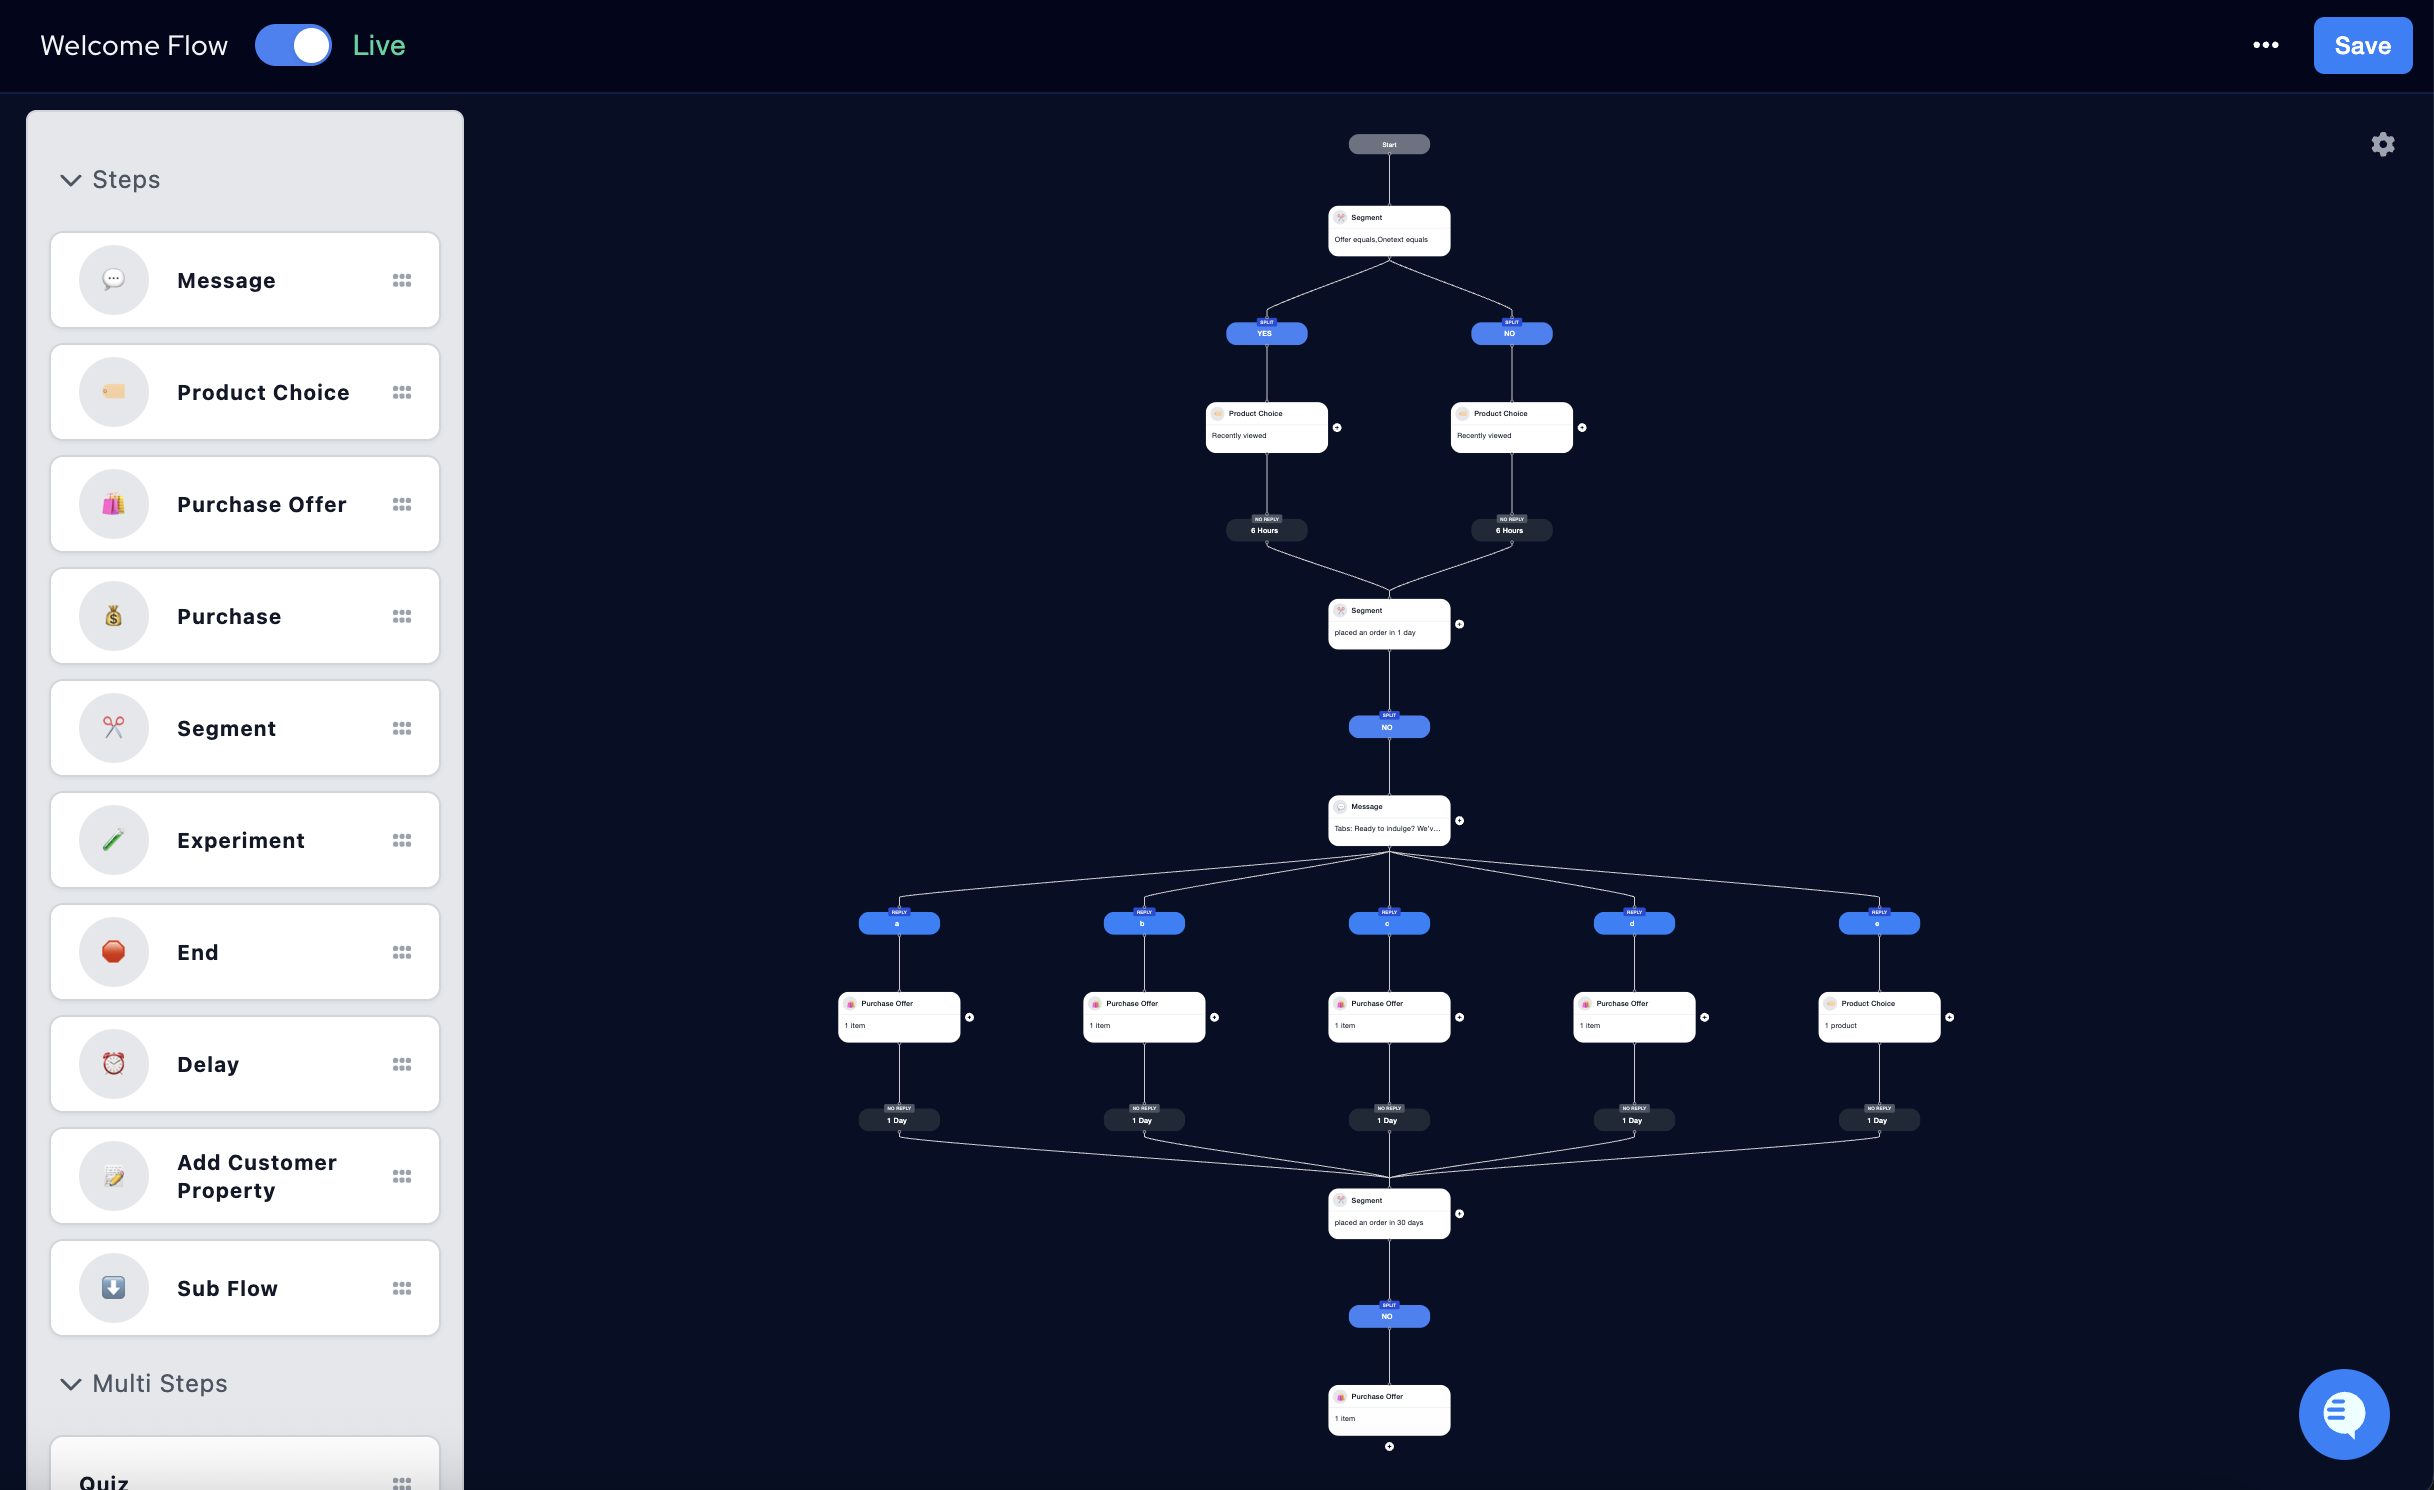
Our OneText Flow Editor gives you a visual, drag-and-drop interface for creating customer journeys—covering standard automations and full audience sends—from welcome series and cart recovery to text-to-buy campaigns and new product drops. Each journey is built from modular steps, which can include messages, conditions, delays, and more.
With the Flow Editor, you can:
Drag and drop different types of steps to map your customer journeys
Use message steps to send texts, product recommendations, or purchase offers
Add conditional splits and experiments to personalize each path and optimize performance
Create nested logic using sub flows, segment filters, and multi-branch experiments
Preview any message step to see exactly what your customer will receive—before you send it
Message Steps
Our flow builder supports several types of messages—each designed for different goals and levels of shopper interaction. Whether you’re sending a quick reminder or offering a personalized checkout experience, choosing the right message type ensures the best customer experience (and better conversions).
💬 Message
Use this when you're not selling directly. Ideal for welcome messages, updates, soft asks, education, or triggering AI with open-ended questions. Add links or images when needed—but no built-in purchase logic.
For a deeper dive into this step and its many applications, read our explainer here.
🏷 Product Choice
Perfect when you want to offer options. Great for showcasing multiple SKUs, variants (e.g. sizes or colors), or letting shoppers choose the product they want to buy. Replies trigger an instant checkout.
For a deeper dive into this step and its many applications, read our explainer here.
🛍 Purchase Offer
Use this when you want to control the offer. You choose the exact product, variant, and quantity—no decisions required from the customer. A great option for quick sales, timed drops, or 1:1 promotions.
For a deeper dive into this step and its many applications, read our explainer here.
💰 Purchase
This node appears at the end of a flow after the customer has already made selections. It’s a direct checkout message for customers who’ve already chosen what they want and are ready to confirm their payment.
For a deeper dive into this step and its many applications, read our explainer here.

Quick Summary: Use Message to start a conversation, Product Choice to give options, Purchase Offer to deliver an offer, and Purchase to close the deal. And with AI product recommendations built into Product Choice, you can personalize at scale—without writing custom messages every time.
Control Steps
Not every step in a customer journey sends a message. Some steps are designed to control the logic and pacing of your flows—helping you segment your audience, test content, time messages, and manage how each branch progresses.
✂ Segment
Use this step to branch the journey based on customer behavior or attributes. You might check if someone has made a purchase before, if they’re in a specific custom segment, or if they’ve engaged with recent messages. This ensures the right shoppers get the right message at the right time.
For a deeper dive into this step and its many applications, read our explainer here.
🧪 Experiment
This step creates A/B (or more) testing paths, allowing you to test different versions of a message or journey. It’s perfect for experimenting with different offers, formats, timing, or copy. We track the performance of each variant so you can see what’s working and optimize accordingly.
For a deeper dive into this step and its many applications, read our explainer here.

🛑 End
The End step is a simple utility used to close out branches that shouldn’t continue. For example, if a shopper doesn’t meet a condition in a segment step, or you want to stop messaging someone after a certain point, the End step ensures their journey ends cleanly.
⏰ Delay
Delay adds a pause before the next step in a journey. This is useful when you want to space out touchpoints—for example, sending a reminder 24 hours after a welcome message or waiting 5 minutes before following up on an abandoned cart. You can set any delay duration you like.

Advanced Steps
While control steps manage logic and pacing, advanced steps give you deeper tools for personalization, tracking, and flow organization. These steps are especially useful when building more complex journeys or when you want to track behavior across flows in a structured way.
📝 Add Customer Property
This step lets you tag a customer with a custom key-value pair as they move through a flow. For example, you can mark that a customer was shown a specific product, responded to a message, or reached a certain point in a journey. These tags can later be used to create segments, trigger other automations, or just capture engagement data for future analysis.
It’s a flexible way to track behavior that might not result in a purchase—but still tells you something valuable about the shopper.
For a deeper dive into this step and its many applications, read our explainer here.

⬇ Sub Flow
Sub flows let you nest one flow inside another—creating a second, fully editable layer of logic beneath the main flow. This is especially helpful for organizing complex journeys with multiple branches, re-using shared sequences across flows, or separating parts of a customer journey for clarity.
The best part? Sub flow performance is reported separately, so you get granular insight into how each part of your journey is performing. That means more visibility, more flexibility, and less clutter in your top-level flow.
For a deeper dive into this step and its many applications, read our explainer here.
🚦 Rate Limiter
The Rate Limiter step prevents customers from entering a flow based on certain parameters—for example, making sure a customer doesn't receive multiple recovery messages in a specific period of time.
